
Lawn
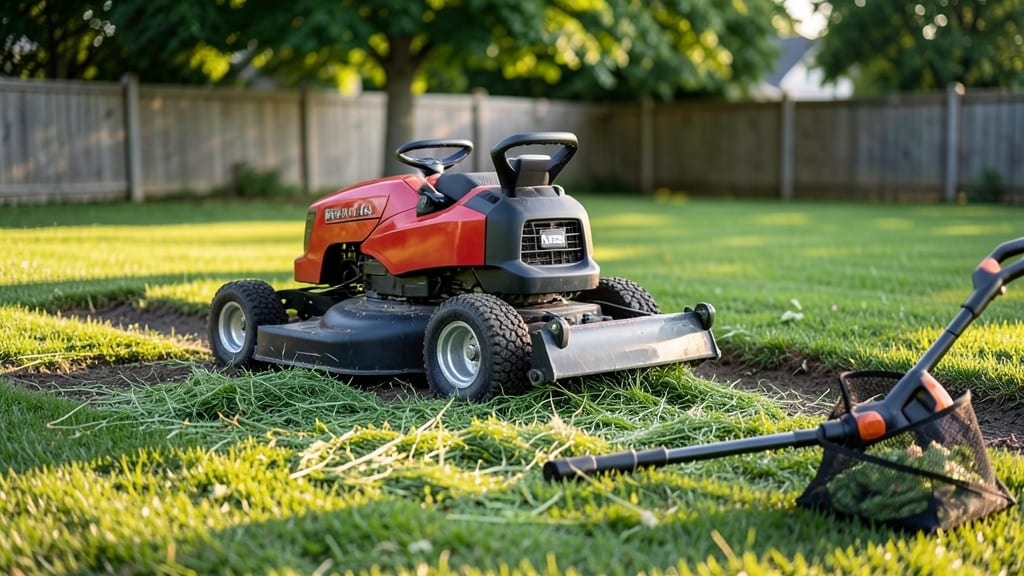
Mowing leaves into your lawn saves bags of trash and creates natural mulch that feeds the grass—if you do it right. 🌿 I used to rake every fall, but after learning this trick, my lawn stays greener through winter with almost no extra work.
The key is timing, technique, and knowing when to stop before you smother the grass.
You’ll need a sharp mower blade, a bagging attachment for thick leaf piles, and patience—especially if you have a lot of leaves. Start when leaves are dry but not brittle, and work in small sections to avoid clogging.
A mulching mower makes this easier, but even a regular mower can work if you raise the deck slightly to let air flow.
After mowing, the leaves break down into a fine layer that blocks weeds, retains moisture, and feeds the soil as it decomposes. You’ll notice a richer green come spring, and your thatch layer stays natural and healthy.
Just avoid leaving piles thicker than ¼-inch—that’s how you smother grass instead of nourishing it.
If your lawn gets buried under leaves, switch to raking or blowing them into piles for compost instead. And if you have large, thick leaves (like oak), they’ll take longer to break down—so mow them finer or remove them first.
The goal is a neat, green lawn without the mess or the hassle.
📚 In This Guide
- What you need
- Instructions
- Tips and common mistakes
- Wrapping up and next steps
What you need
- ● Lawn mower (preferably a mulching mower—check for a "mulch" or "bagging" setting; recommended: 3-4 horsepower for small-to-medium lawns).
- ● Sharp mower blades (dull blades tear leaves instead of chopping them—replace if needed!).
- ● Garden gloves (heavy-duty, nitrile-coated for grip and protection).
- ● Leaf rake or stiff-bristle broom (to clear thick piles before mowing; 12-18" width works best).
- ● Water source (hose with adjustable nozzle or sprinkler for post-mulching hydration).
- ● Leaf vacuum or blower (for large yards—saves time and energy).
- ● Soil test kit (to check pH/nutrient levels before mulching; $10-$20).
- ● Compost activator (speeds up decomposition if leaves are thick or woody).
- ● Knee pads (because crawling is part of the process—trust us!).
- ● Dry leaves (mow when leaves are crispy-dry—wet leaves clump and clog mowers!).
- ● Mower height set to highest (typically 3-4 inches for mulching).
- ● Clear debris (remove sticks, rocks, or large branches first—they ruin blades!).
- ● Time of day (early morning or late afternoon to avoid heat stress on grass).
Step-by-Step guide to mowing leaves into lawn
Transform fallen leaves into natural fertilizer while keeping your lawn healthy—here's how to do it right.
🌿 Step 1: Wait Until Leaves Are Dry
Don't rush—wait until leaves are completely dry and crispy. Wet leaves clump together and clog your mower, while dry leaves shred into fine pieces that blend seamlessly into the grass. Test by crumpling a handful; if it stays crumbled, they're ready. This usually takes 1-3 days after a leaf drop, depending on your climate.
I like to mow when temperatures are mild (50-70°F) to avoid stressing the lawn. Early morning or late afternoon works best. If you have thick leaf layers, break them up with a rake first—this prevents clumping and ensures even mulching.
✂️ Step 2: Adjust Mower Settings for Fine Mulching
Set your mower blade to its highest setting—this chops leaves into tiny pieces that disappear into the grass. For most lawns, 3-4 inches is ideal. If you have a bagging mower, remove the bag and use the mulching setting. The goal is to shred leaves so finely they look like confetti when they fall.
Go over the same area twice if needed—this ensures even coverage. You'll know you're doing it right when the lawn looks uniformly green without visible leaf bits. Avoid mowing when the grass is wet; this makes mulching less effective and can damage the mower.
💧 Step 3: Mow Over the Lawn in Sections
Start at one end of the lawn and work your way to the other, slightly overlapping each pass. This prevents missed spots and ensures consistent mulching. I like to mow in straight lines first, then make diagonal passes to cover any gaps. For large lawns, divide it into 4 equal sections to stay organized.
Watch for areas where leaves pile up—these spots need extra attention. If you notice clumps forming, stop, rake them apart, and mow again. The key is patience; rushing leads to uneven mulching and visible leaf debris. After completing one section, move to the next before the mulched leaves dry out completely.
☀️ Step 4: Water Lightly to Settle Mulch
After mulching, give the lawn a light watering to help the leaf particles settle into the grass. Use ¼ inch of water—just enough to dampen the surface without soaking it. This encourages the natural decomposition process and prevents the mulch from blowing away.
I water in the early morning so the lawn has time to dry before evening. Overwatering can create a soggy layer of leaves that smothers the grass. Within 24-48 hours, the mulched leaves will blend into the lawn, and you'll see a noticeable boost in soil fertility. Repeat this process every 2-3 weeks during leaf season for best results.
Tips & tricks for perfect zero-waste lawn mulching
These little adjustments will transform your leaf cleanup into a lawn-boosting routine that actually benefits your yard.
Timing is Everything: I can't stress enough how critical the 1-3 day drying period is—this isn't just about avoiding clogs. Dry leaves break down faster into the soil, delivering nutrients immediately rather than sitting as a smothering layer. If you're in a humid climate where leaves take longer to dry, consider using a leaf blower first to speed up the process. The goal is to work with nature's decomposition cycle, not fight it.
Mower Mastery: For that perfect "confetti" texture in Step 2, focus on the blade height. Most mowers have a "highest" setting marked by a small tab or number—this is your sweet spot for mulching. If you're still seeing leaf bits after the first pass, lower the blade just one notch. The key is to go slow—rushing makes the mower work harder and can create uneven shredding. Think of it like shredding paper: steady, even passes create the finest results.
Section Strategy: Dividing your lawn into 4 equal sections in Step 3 isn't just organizational—it's about maintaining mulch quality. Each time you move to a new section, the mulch from previous sections has time to settle. This prevents that "freshly mulched" look where you can still see leaf particles. Pro tip: Use a garden hose to create a slight barrier between sections if you have strong winds—this keeps your mulch where you want it.
Watering Wisdom: That ¼ inch of water in Step 4 is more important than it seems. Think of it as a gentle rain shower—not enough water leaves the mulch floating on top, while too much creates a soup. I like to use a rain gauge or even a straight-edged container to measure. Watering in the morning gives the lawn time to dry completely, which prevents fungal growth that can occur when mulch stays damp overnight.
Pro Tips for Mowing Leaves Into Lawn
- These little adjustments will transform your leaf cleanup into a lawn-boosting routine that actually benefits your yard.
- Timing is Everything: I can't stress enough how critical the 1-3 day drying period is—this isn't just about avoiding ...
- Mower Mastery: For that perfect "confetti" texture in Step 2, focus on the blade height. Most mowers have a "highest"...
Frequently asked questions
Got questions about mowing leaves into your lawn? You’re not alone! Here are answers to the most common concerns—so you can mulch like a pro and keep your grass lush and healthy.
Is it safe to mulch leaves directly into the lawn?
Yes! When leaves are finely shredded (like confetti ), they break down quickly and fertilize your grass naturally. Just avoid thick layers—aim for no more than ¼-inch of leaves at a time to prevent smothering. Over time, this boosts soil health and reduces waste.
How often should I mulch leaves into my lawn?
Frequency depends on leaf volume. For light fallouts, once every 2–3 weeks works well. If leaves pile up fast, mulch weekly to prevent clumps. Always mow when the lawn is dry for even distribution and better results.
What if my lawn looks brown or patchy after mulching?
Brown spots can happen if leaves clump or smother grass. Rake out thick patches, then mow again with a sharp blade set higher (3–4 inches). Overwater lightly for 2–3 days to help decomposition. If patches persist, thin the grass in spring.
Can I mulch wet or frozen leaves into the lawn?
Mulching works best with dry, crisp leaves—wet leaves clump, and frozen ones can damage your mower. Wait for a sunny day to dry leaves out (or use a leaf blower first). If leaves are frozen, let them thaw before mowing for cleaner results.
What if I don’t have a mulching mower? Can I still do this?
Use a string trimmer or scissors to shred leaves into small pieces before spreading them evenly. A lawn vacuum or rake can also help distribute them. Just take extra time to ensure even coverage.
Pro Tip:
Mix it up!
If your lawn has thick thatch, alternate mulching with top-dressing (spreading compost) in early spring. This gives your grass a double nutrient boost while improving soil structure.
Wrapping up and next steps
Transforming your lawn into a thriving, zero-waste ecosystem is simpler than you think!
By mowing leaves into your grass, you’re not just cutting down on yard waste—you’re feeding your lawn naturally, reducing thatch, and saving time (and money) on fertilizers. 🌱 This method is a win-win for both your green space and the planet, proving that small changes yield big results.
Ready to give it a try? Start small—pick a section of your lawn this weekend and observe the difference over a few weeks. Before you know it, you’ll be the neighbor with the healthiest, easiest-to-maintain lawn on the block. Happy mulching!