
Fertilization
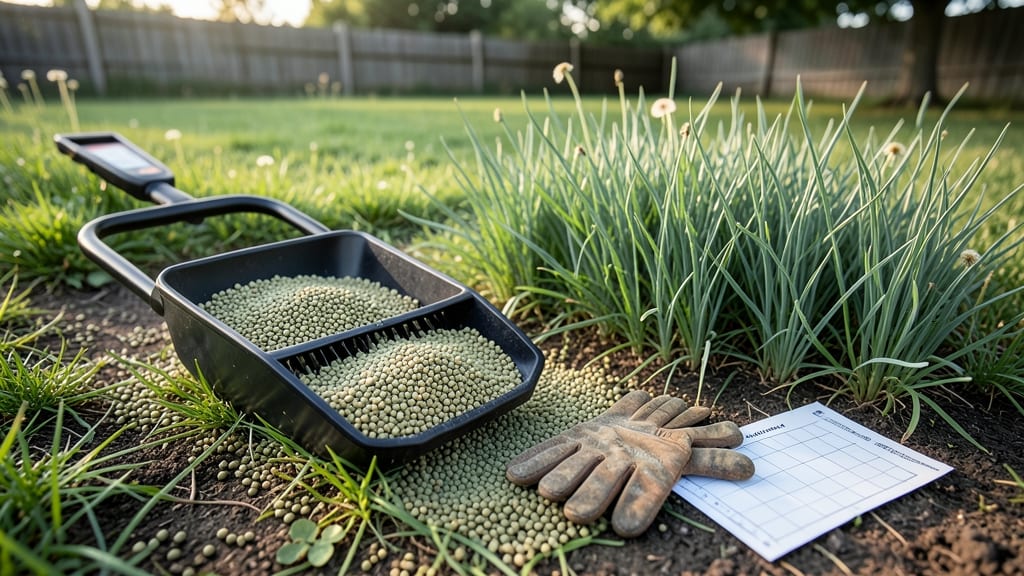
Spreading lawn fertilizer evenly is the secret to that deep, vibrant green your neighbors envy—without burning your grass or wasting product. 🌱 I’ve struggled with clumpy patches and patchy results until I mastered the right technique, and now my yard looks like a professional golf course (minus the divots).
The key starts with choosing the right fertilizer for your grass type and season—spring and fall are prime times—then using the correct spreader (broadcast for large areas, drop for precision). A slow, steady pass with slight overlap ensures even coverage, while watering afterward locks in nutrients without washing them away.
You’ll know it’s working when your grass feels springy underfoot and grows 1-2 inches taller in just a few weeks. The trick is consistency: too much burns, too little leaves bare spots, but the right balance transforms dull lawns into lush carpets.
Works for any grass type, from cool-season fescue to warm-season Bermuda. Here’s how to do it right—no guesswork, just results.
📚 In This Guide
- What you need
- Instructions
- Tips and common mistakes
- Wrapping up and next steps
What you need
- ● Lawn fertilizer – Choose a slow-release granular or liquid formula (e.g., 16-4-8 or 20-5-10 NPK ratio). Quantity: Follow label instructions (typically 1-2 lbs per 100 sq ft for granular).
- ● Broadcast spreader – A handheld or tow-behind model (e.g., Scotts Turf Builder or Brinly). Capacity: 10-25 lbs for most lawns.
- ● Measuring tape or wheel – To calculate lawn size (accuracy is key!).
- ● Garden hose with shutoff nozzle – For rinsing spreader and wetting lawn post-application.
- ● Gloves & safety goggles – Protect your hands and eyes from dust/chemicals.
- ● Water (if using liquid fertilizer) – A garden sprayer or hose attachment for even distribution.
- ● Calibrated spreader – Ensures precise application (adjustable settings for different fertilizer types).
- ● Lawn calculator app – Quickly computes fertilizer needs by area (e.g., Lawn Size Calculator).
- ● Windbreak – A tarp or fence to block breeze while spreading (prevents drift).
- ● Rain forecast check – Aim for a dry 24-48 hours post-application to avoid runoff.
Step-by-Step guide to spreading lawn fertilizer like a pro
Here's how I ensure even coverage and healthy growth every time—no streaks or missed spots.
🪴 Step 1: Calibrate Your Spreader for Perfect Coverage
Start by setting your spreader to the recommended rate for your fertilizer type—usually printed on the bag. For granular fertilizers, I begin with the mid-range setting and adjust based on visual coverage. Walk across a small test section of your lawn, then examine the pattern. You'll want to see granules evenly spaced with no overlapping piles or bare spots.
Most spreaders use a ratio of 1/4 pound of nitrogen per 1,000 square feet for standard lawns. If your bag recommends 10 pounds per 1,000 sq ft, set the spreader to deliver 1/4 lb per 1,000 sq ft (about 1/50th of the bag). Real talk: I always double-check this first—miscalibrating means either wasting fertilizer or starving your grass.
⏰ Step 2: Divide the Lawn into Workable Sections
Break your lawn into 10-foot wide strips running perpendicular to your walking path. This ensures you don't overlap or miss areas as you work. Use a garden hose or spray paint to mark boundaries if needed. I find marking helps when working with irregularly shaped lawns or around flower beds.
Work in one strip at a time, moving methodically from one end to the other. This prevents you from accidentally double-applying fertilizer in some areas while skipping others. If your lawn is larger than 5,000 square feet, consider doing half today and half tomorrow—freshly applied fertilizer can burn grass if left in the sun too long.
💧 Step 3: Spread Fertilizer with Overlapping Passes
Begin at one end of your first strip, holding the spreader handle at waist height for consistent distribution. Walk at a steady pace, keeping the spreader moving continuously. For even coverage, I overlap each pass by about 6 inches—this ensures no gaps where grass might miss out on nutrients.
Watch for visual cues: granules should look like tiny, evenly spaced confetti rather than clumps. If you see piles forming, you're walking too slowly or the spreader setting is too high. Conversely, if the lawn looks nearly bare, you need to slow down or reduce the spreader setting by one notch. Here's the thing—most people overspread, so start conservative and adjust upward if needed.
☀️ Step 4: Water Immediately After Application
Once all sections are fertilized, water the lawn lightly but thoroughly within 24 hours. This activates the fertilizer by dissolving the granules and washing nutrients into the soil. I set my sprinklers for 15-20 minutes to achieve ½ inch of water—enough to moisten the root zone without creating runoff.
Watering too soon (within a few hours) can cause fertilizer burn, while waiting too long (over 48 hours) reduces effectiveness. If rain is forecast within 24 hours, skip the watering and let nature handle it. The goal is to get those nutrients into the soil where your grass can access them.
✂️ Step 5: Monitor and Maintain for Long-Term Health
After fertilizing, watch for green-up within 7-14 days. Healthy grass should show uniform color without yellow or brown patches. If you notice uneven growth, you may have missed spots or applied too much in certain areas. I keep a log of application dates and types—this helps track what works best for my lawn's specific needs.
For best results, fertilize 4 times per year (early spring, late spring, summer, and fall) using a slow-release formula. This prevents nutrient spikes that can harm grass and keeps your lawn vibrant between seasons. Don't skip the fall application—this is when grass stores nutrients for winter survival.
Tips & tricks for perfect lawn fertilizer application
Took me years to stop seeing those frustrating bare patches after fertilizing—here's what actually works.
Calibration Check: The test section in Step 1 is non-negotiable. I've seen people skip this and end up with either half their lawn over-fertilized or the other half starving. Use a measuring tape to mark a 10x10 square foot area—this gives you a precise reference for what "even coverage" should look like with your specific spreader model. Remember that bag recommendations often assume perfect conditions, so adjust if your spreader tends to clump or scatter granules unevenly.
Strip Width Strategy: Those 10-foot strips in Step 2 aren't arbitrary—they match the average adult stride length. Walking at a natural pace while maintaining waist-height spreader position creates consistent pressure on the trigger mechanism. For larger lawns, I actually use a wheelbarrow to carry my spreader between sections rather than walking back and forth, which can cause uneven distribution when you're tired.
Overlap Technique: The 6-inch overlap in Step 3 might seem excessive, but here's why it matters: Grass blades vary in height by up to 2 inches across your lawn. That overlap ensures even the tallest blades get coverage while preventing bare spots where shorter grass might hide gaps. Think of it like mowing—you overlap passes to avoid stripes, and the same principle applies here.
Watering Window: The 24-hour window in Step 4 is your safety net, but don't wait until the last minute. I set a reminder on my phone for 6 hours after application to check the forecast. If you see dark clouds forming, that's your cue to water immediately—fertilizer granules left exposed to heavy rain can wash away before they dissolve properly. For drought-prone areas, consider using a soaker hose to deliver that ½ inch of water more efficiently than sprinklers.
Pro Tips for Spread Lawn Fertilizer
- Took me years to stop seeing those frustrating bare patches after fertilizing—here's what actually works.
- Calibration Check: The test section in Step 1 is non-negotiable.
- Strip Width Strategy: Those 10-foot strips in Step 2 aren't arbitrary—they match the average adult stride length.
Frequently asked questions
Got questions about spreading lawn fertilizer like a pro?
Here are answers to the most common concerns—so you can achieve that perfectly even green lawn without the guesswork.
When is the best time of day to spread fertilizer?
Early morning or late afternoon are ideal—avoid midday heat or strong winds. This prevents the granules from drying out too quickly or blowing away. If you must apply in the evening, water lightly afterward to help it settle.
How often should I fertilize my lawn?
Most lawns benefit from 3-4 applications per year, spaced about 6-8 weeks apart. Slow-release fertilizers may require fewer feedings. Always follow the product’s label for your specific grass type (cool-season vs. warm-season).
Do I need to water before or after spreading fertilizer?
Water lightly after application (within 24 hours) to activate granules, but avoid heavy watering for 24-48 hours. This helps prevent runoff and ensures nutrients reach the roots. Check the fertilizer label for specific instructions.
What’s the best method for even coverage—broadcast or drop spreader?
A drop spreader is best for small lawns (precise control), while a broadcast spreader works for larger areas. For overlapping patterns, walk in a staggered grid (like mowing) to avoid missed spots. Test a small section first!
My lawn looks patchy after fertilizing—what went wrong?
Uneven coverage often means overlapping or skipping areas. Double-check your spreader settings (calibrate for your lawn size) and walk in straight lines. If patches persist, test soil pH—imbalances can block nutrient absorption. Reapply thinly if needed.
Can I use organic fertilizer instead of synthetic?
Organic options (like compost, manure, or plant-based granules) release nutrients slowly but improve soil health long-term. They may require more frequent applications but reduce chemical runoff. Choose based on your lawn’s needs—fast results vs. sustainability.
Wrapping up and next steps
Spreading lawn fertilizer evenly is the secret to a vibrant, healthy lawn—no more patchy growth or wasted product! By following the right steps—whether you’re using a broadcast spreader, drop spreader, or hand-spreading—you’ll give your grass the nutrients it needs for that lush, green glow. 🌱
Now that you’re armed with the know-how, grab your tools and get to work! For long-term success, consider testing your soil every few months to adjust your fertilization plan. Happy spreading—and enjoy your dream lawn! 🌿✨